Baby Bottle Sterilization Guide | Boiling Time, When to Stop & Best Methods
How long should I sterilize baby bottles? When can I stop? These are the most common questions from new parents. This guide covers bottle sterilization methods (boiling, steam, UV, microwave), boiling time, when to stop sterilizing, and sterilizer recommendations.
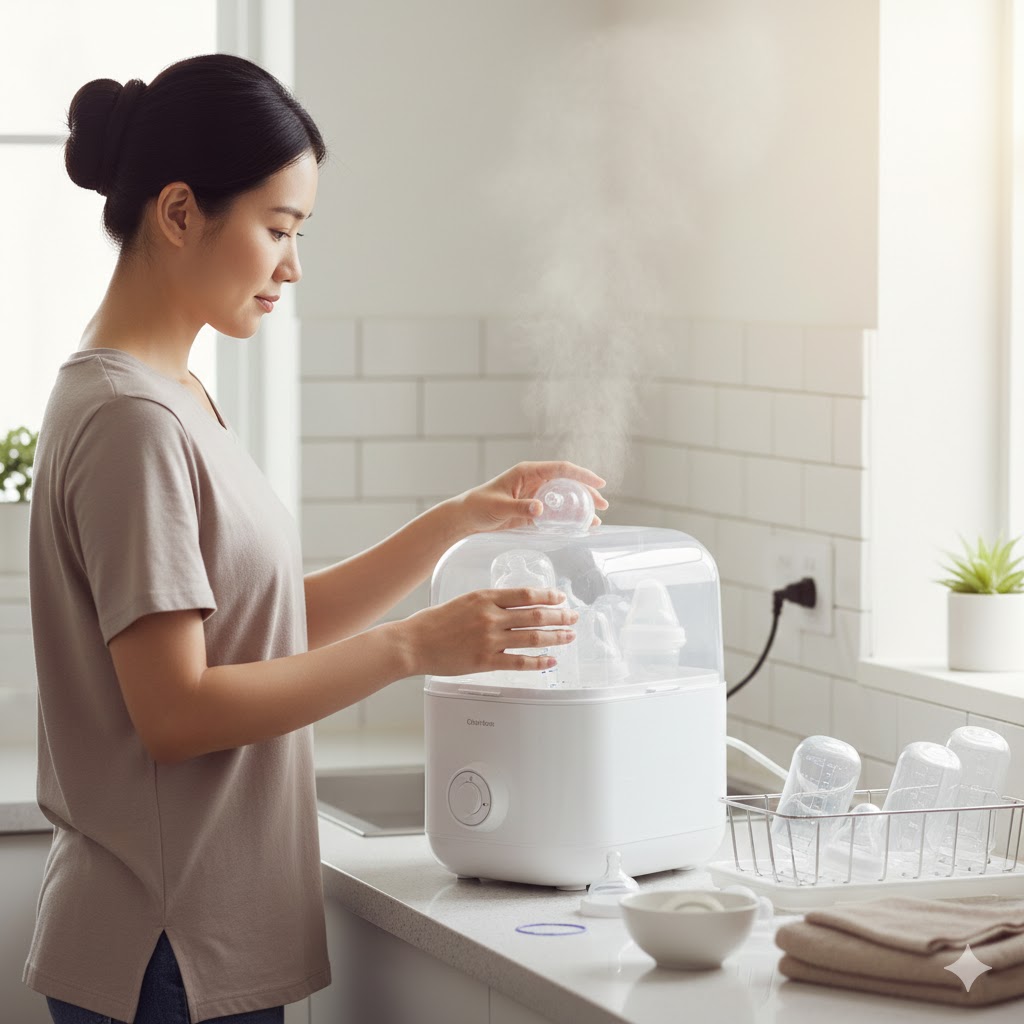
Why Bottle Sterilization is Important
Newborns have underdeveloped immune systems. Formula is nutrient-rich, meaning bacteria can multiply rapidly even in tiny residues left in bottles.
Problems without proper sterilization:
- Diarrhea, vomiting, and digestive issues
- Oral thrush (candidiasis)
- Gastroenteritis and food poisoning
When to Stop Sterilizing Baby Bottles
Here are the recommendations for sterilization duration:
| Age | Sterilization Need | Reason |
|---|---|---|
| 0-3 months | Every use (Required) | Weakest immunity period |
| 4-6 months | Every use (Recommended) | Immunity still developing |
| 7-12 months | Once daily | 50-70% immune development |
| After 12 months | 1-2 times per week | Regular washing is sufficient |
Signs It's Okay to Stop
- Baby starts putting floor objects in mouth
- Started solids and using various utensils
- Immune system is adequately developed (after age 1)
However, continue sterilizing when baby is sick or during summer months.
4 Baby Bottle Sterilization Methods
1. Boiling Method
The most traditional and reliable sterilization method.
What you need:
- Deep pot (bottles must be fully submerged)
- Bottle tongs (silicone-coated recommended)
How long to boil baby bottles:
| Part | Boiling Time | Notes |
|---|---|---|
| Bottle body (glass) | 5-7 minutes | Start from cold water |
| Bottle body (plastic) | 2-3 minutes | Add after water boils |
| Nipples/caps | 30 seconds - 1 minute | Longer damages them |
Boiling steps:
- Clean bottles thoroughly
- Fill pot with enough water
- Glass bottles start in cold water; plastic added after boiling
- Sterilize bottle body first, add nipples for last 30 sec - 1 min
- Remove with tongs and air dry on rack
2. Steam Sterilizer
Using an electric steam sterilizer.
Advantages:
- More convenient than boiling
- Consistent temperature
- Lower burn risk
- Cheaper than UV
Sterilization time: 5-10 minutes (varies by product)
Notes:
- Prevent limescale buildup inside
- Remove all moisture after use
3. UV Sterilizer (Ultraviolet)
Uses UVC light to eliminate bacteria.
Advantages:
- One-button sterilization + drying + storage
- No burn risk
- Safe for heat-sensitive materials
- Multi-use (nipples, toys, teethers)
Disadvantages:
- More expensive
- May discolor PPSU bottles
- Shadow areas may not be fully sterilized
Sterilization time: 10-30 minutes (including drying)
4. Microwave Sterilization
Using specialized sterilizer bags or containers.
Microwave sterilization time:
- 500-700W: 3-5 minutes
- 800-1000W: 2-3 minutes
Important notes:
- Use only dedicated containers
- Remove metal parts
- Very hot immediately after - handle carefully
- Uneven heating may create hot spots
UV vs Steam Sterilizer: Which to Choose?
| Feature | UV Sterilizer | Steam Sterilizer |
|---|---|---|
| Method | Ultraviolet light | High-temp steam |
| Time | 10-30 min | 5-10 min |
| Drying | Yes | Some models |
| Storage | Yes | No |
| Price | $80-250 | $25-80 |
| Maintenance | Easy | Limescale cleaning |
| Best for | Convenience priority | Budget priority |
What to Look for in a Sterilizer
- Capacity: Fits 6-12 bottles
- Interior size: 25cm+ width/depth for comfort
- Double deck: Useful for multiple children
- Coverage: UV models should have no blind spots
How to Wash Bottles (Before Sterilizing)
Clean washing before sterilization is essential.
Washing steps:
- Rinse immediately after feeding (before formula dries)
- Use bottle-specific cleanser
- Scrub thoroughly with bottle brush
- Clean nipple holes carefully
- Rinse completely under running water
Cleaning tools:
- Bottle brush (silicone or sponge)
- Nipple brush
- Bottle cleanser (food-grade)
- Drying rack (well-ventilated)
Sterilizing Bottles While Traveling
You still need sterilization away from home.
Portable Options
1. Disposable sterilizer bags
- Microwave steam bags
- Easy to use at accommodations
2. Sterilizing tablets (chemical)
- Dissolve in water, soak for 1 hour
- Some don't require rinsing
3. Portable UV sterilizer
- Rechargeable for anywhere use
- Convenient for nipples and pacifiers
Track Feeding with BebeSnap
Recording feeds is as important as sterilization.
With BebeSnap:
- One-touch feeding amount and time recording
- Track formula vs breast milk separately
- Set bottle replacement reminders
- Comprehensive baby health management
Frequently Asked Questions
Q: Should I sterilize new bottles?
Yes! New bottles can be contaminated during packaging. Always sterilize before first use.
Q: Should I dry bottles after sterilizing?
Air drying is best. Wiping with a cloth can transfer bacteria.
Q: What happens if I don't sterilize bottles?
Bacteria growth can cause diarrhea, vomiting, and gastroenteritis. Especially dangerous for newborns with weak immunity.
Q: Can I boil PPSU bottles?
Yes, PPSU has good heat resistance for boiling. However, UV sterilization may cause discoloration - check manufacturer guidelines.
Q: Should I sterilize pacifiers too?
Yes! Sterilize pacifiers, teethers, and everything that goes in baby's mouth.
References
Manage Easier with BebeSnap
AI stool analysis, feeding & sleep tracking, health reports—all in one app.
Medical Disclaimer: This article is for informational purposes only and does not replace professional medical advice. If you have concerns about your baby's health, please consult a pediatrician.
You Might Also Like
Baby Sign Language Guide: Communicating Before Words
Thumb-Sucking & Pacifier Weaning: When and How to Stop
Baby Heatstroke Prevention: Warning Signs & Hot Car Dangers
Baby Food Storage Guide: How Many Days in the Fridge, Months in the Freezer, and Safe Reheating
You Might Also Like
9 to 12 Month Baby Meal Schedule: Sample Feeding Routine for Solids, Milk, and Snacks
Use this 9 to 12 month baby meal schedule to plan 3 meals, 2 to 3 snacks, and regular milk feeds without crowding out breast milk or formula.
8- to 12-Month-Old Feeding Schedule: What to Feed Your Baby All Day
A simple feeding schedule for an 8- to 12-month-old often looks like 3 meals, 2 to 3 snacks, and breast milk or formula still carrying much of the day.

Complete Guide to Burping Your Baby: Positions, Timing, and Tips
Struggling to burp your baby? Learn 5 effective burping positions, optimal timing, and what to do when burps won't come out.